This past Sunday I enjoyed one of my two annual crafting traditions: decorating Easter eggs (the other is making Christmas ornaments). I invited everyone I knew and some people I didn't know and set up my living room for an explosion of crafting. During the five years or so that I've been having these parties, I've tried a number of different techniques for decorating the eggs. Tired of dipping your eggs in food colouring? Give these methods a try!
Draw with a Sharpie or other markers
Photo by Kelly Tran
This is super simple. All you need is a Sharpie or other permanent marker. Draw a repeating pattern around the egg. It looks just as nice on a brown egg as on a white one.
Paint
Photo by Kelly Tran
A classic technique, and one that is super versatile. It helps to have some sort of stand to put the wet egg on to dry - my brother 3-D printed some stands this year but in past years, we've used egg cartons. You can paint stripes, dots, patterns, flat colour, or mini paintings, depending on how ambitious you are.
Collage
Tissue paper works amazingly well on eggs. Tear off small pieces and glue it on using white glue. We've also learned that napkins or tissues that have patterns on them are really fun too. You can layer ribbons on top, and I always find a fun selection of sequins, sparkly stick-ons, pom-poms and other Easter-themed fancies at the dollar store. And don't forget about fabric and feathers!
Dye with vegetables
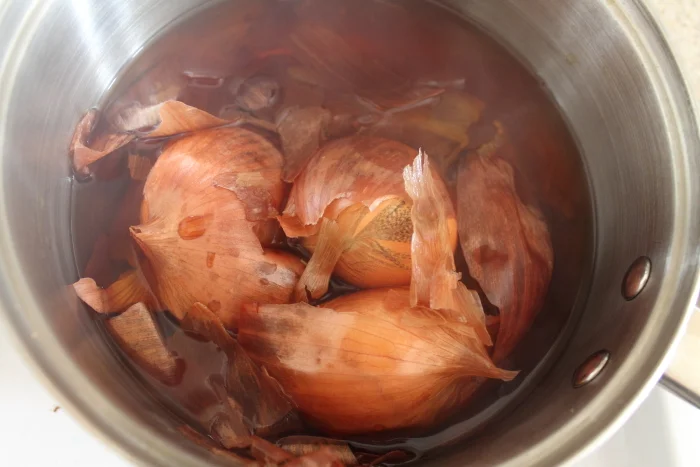
We tried this technique this year, using onion skins and cabbage. I think my skills need a little finessing though because the dye rubbed off the eggs when we were done. Any suggestions on what we might have done wrong?
Dye with silk
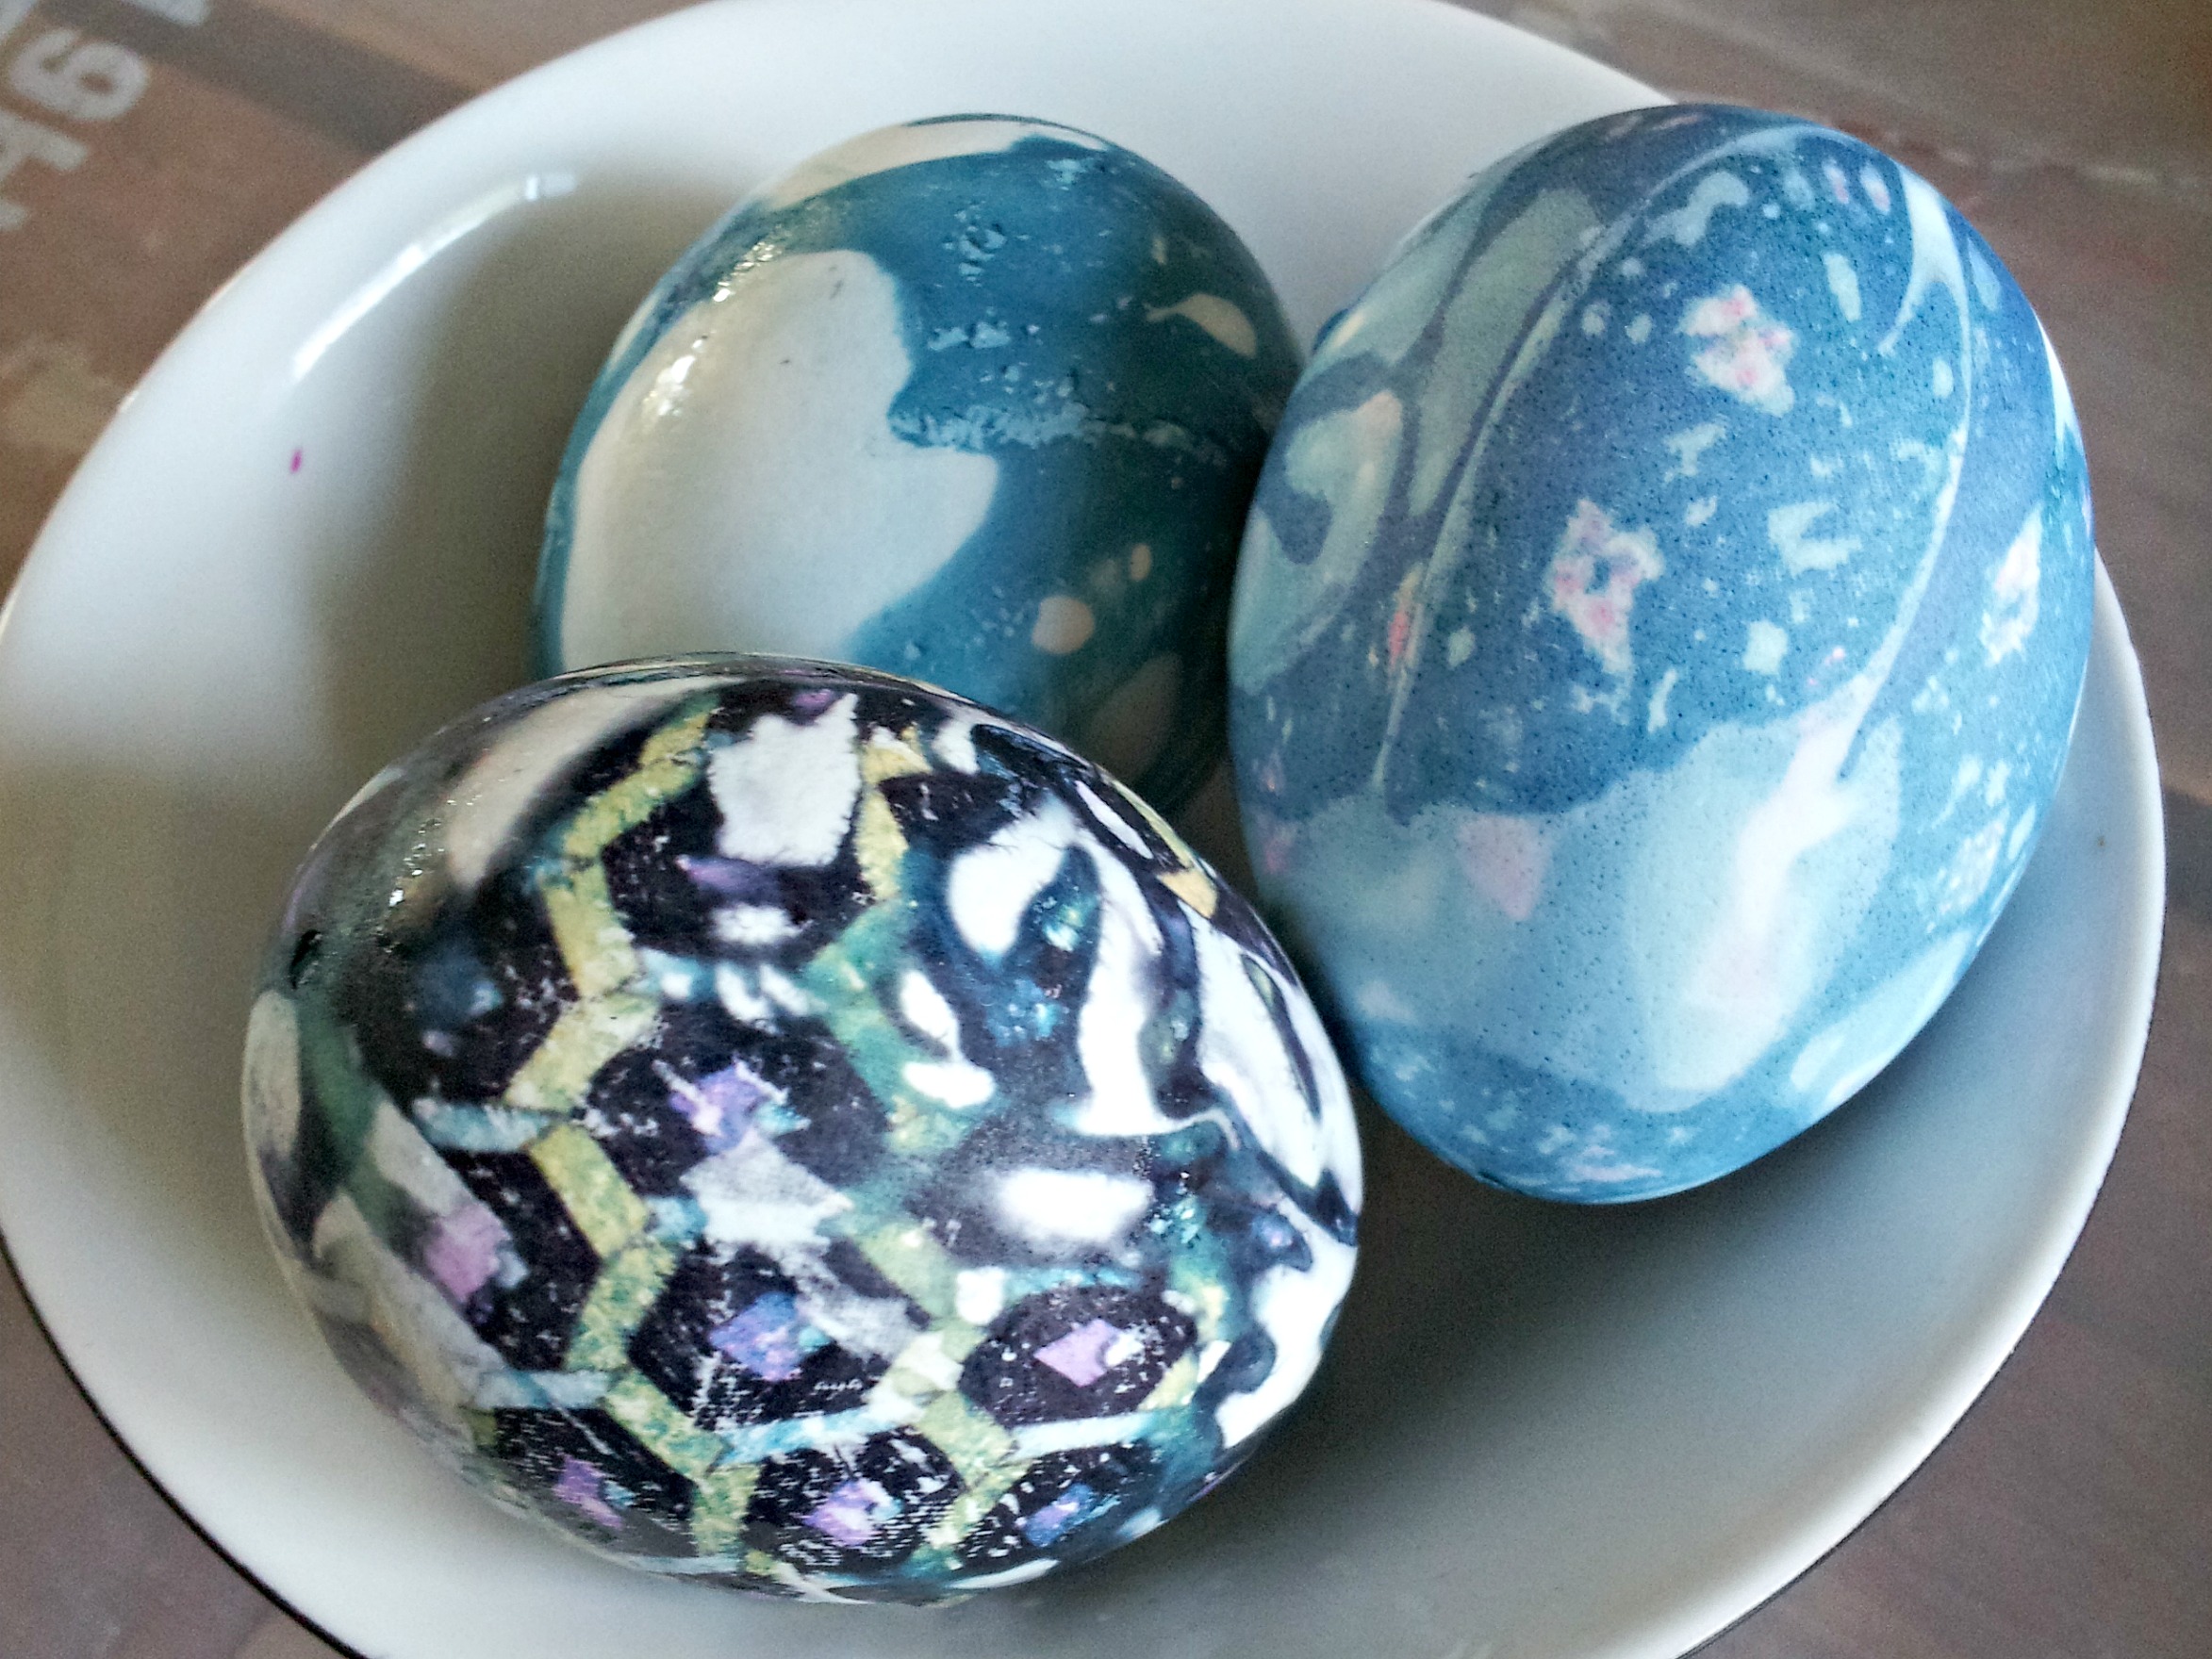
This is so much fun, and surprisingly easy! You wrap an egg in a piece of a silk tie (or silk shirt, or scarf), then cover with a piece of white cotton. Boil in water and vinegar for 20 minutes and the pattern on the silk will transfer to the egg! Usually, it comes out looking pretty swirly as the silk moves around on the egg. If you want the pattern to transfer perfectly, wrap the silk in thread. You have to go around the egg many times, making sure that every millimetre is covered. It takes some time but it's worth the effort - it looks amazing when it's finished. The Buddha egg below was done this way. I can't get over how cute it is (way to go, mom)!
Ukrainian pysanky
A friend came and taught us how to do the proper Ukrainian batik method this year. She brought the little tools that are used to scoop hot wax and draw on the egg. The technique is basically to draw on the egg, dye it, draw on the egg, dye it in a slightly darker colour, and so on. We only used 4 colours of dye, but I think you could use plenty more. Here's a website dedicated to making pysanky if you want a more detailed tutorial. You can also use wax crayons if you can't find the tools or are worried about your kids playing with a candle. (Here in Alberta we have a significant Ukrainian population, and we have the largest pysanka in the world!). The egg below was done by my friend, who has obviously done this before.
Make a creature
This seems to be a pretty popular technique at my parties. I often buy styrofoam eggs (in addition to blowing out real eggs) and these often get cut up and transformed into birds, robots, spaceships and much more! A glue gun works really well on real eggs though it tends to melt the styrofoam ones if you're not careful.
If you haven't decorated eggs since you were a kid, I highly recommend you give it a try. It's fun and satisfying in a very easy, low-pressure sort of way. You can build up a collection over the years to display in dishes or baskets at Easter, or to hang in pussy willow branches like an Easter tree, or to hide around your neighborhood to bring delight to your neighbors.
What's your favourite way to decorate an Easter egg? Leave a comment below!


